www.wimb.net - LED Lamps on 230V
LED Lamps
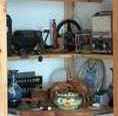
Museum corner at day time without lamps.
Dark museum corner at night without lamps.
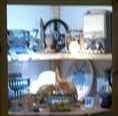
No more Dark museum corner, at night - lamps in action.
LED Lamps Links
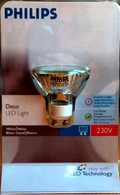
230V LED Spotlights
Once, not so long age (2008), in a shop where they sold LED lamps, I was wondering where I could use them. They had different models; I was attracted by the 1 Watt spotlights.
Museum Corner
At home I have a small "Museum Corner" where I keep some old stuff. At night time it is very dark. The ideal place for some LED lamps.
Used materials

- Two Philips Deco LED Lights (230V 1Watt)
- One meter small cable duct
- Two balls with M4 thread
- Two M4 eyebolts
- Two short platic isolator tubes
- A small push button switch
- Wood to mount the lamps
- Wire, cable and a main plug
The first idea was to use some "official" lamp holders, but as they are not so easy to find, I decided to solder the wires direct on the lamps. With an expected lifetime of a few thousand hours this will last long enough to find once another solution.
The construction
We start with the wood for the mounting of the lamps. In my case I had to cut both sides under an angle. Don't say that one side is not straight, I'm not a carpenter.
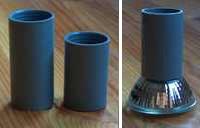 Next we go to shorten the two plastic tubes. They will be used to isolate the connection to the lamps and to hold the eyebolts.
The right photo shows how the tubes fit around the lamp.
Soldering the wires
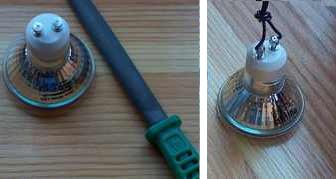
The lamp contacts are coated (nickel) and difficult to solder. Cleaning them with a small file solves all problems.
On the right the lamp with two black wires.
Hot Glue Gun

For the next step we need a Hot Glue Gun. With some glue we go to put the tube around the lamp. Then the tube has to be filled with glue and in the same time the eyebolt has to be glued inside the tube, with enough thread (10mm) outside the tube to screw it in the balls.
Electrical Check
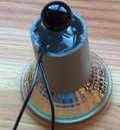
On the image you can see the lamp with the glue-filled tube. Now the best thing to do is to see if it works.
Just connect the two wires in a safe way to the 230V and watch the result. Of course it will work!
Prepare the Cable Duct

Now we have to make two holes in the cable duct where the balls can not pass trough. This must be done very careful. Once when a hole is too large, it is unusable and you have to make another one. Depending of the cable duct you may have to remove also some material from the bottom side. The ball should be clamped inside with enough friction to stay in position to hold the lamp.
Final Mounting

For the final mounting I've put an extra piece of cable duct on the already existing one. There was not enough place for the switch and the cables.
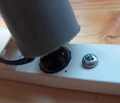
The construction with the ball make that the spots can be turned in all directions. To make sure that there is some friction, there is an extra screw that goes though the cable duct in the wood.
Updated 2007 Oct. 09


